Creating EC2 with AWS CLI
24. 05. 09.
Translated by Claude Opus 4.5
AI-generated content may be inaccurate or misleading.
This article assumes that AWS CLI is already installed and configured.
Create VPC
aws ec2 create-vpc --cidr-block *Select the blue text to edit it before copying.
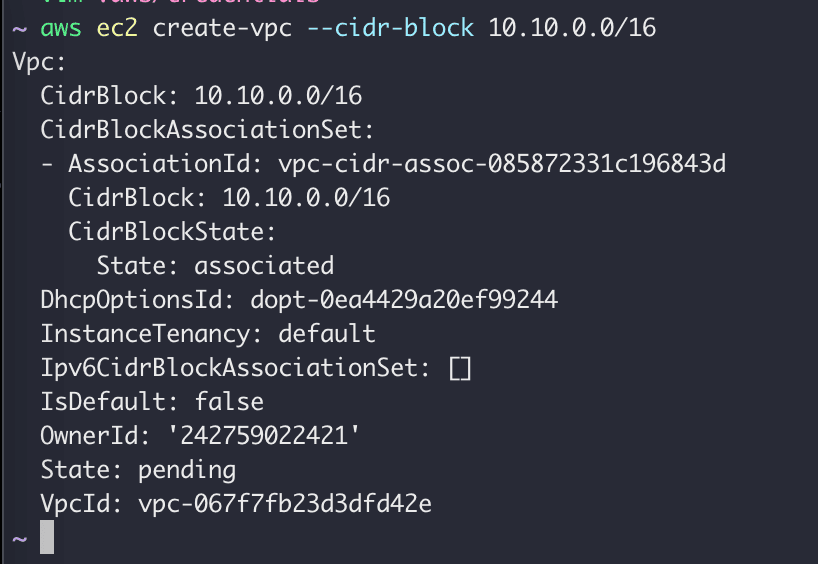
When you create a VPC with the command above, the VPC information will be returned.
Create Subnet
aws ec2 create-subnet --vpc-id \
--cidr-block *Select the blue text to edit it before copying.
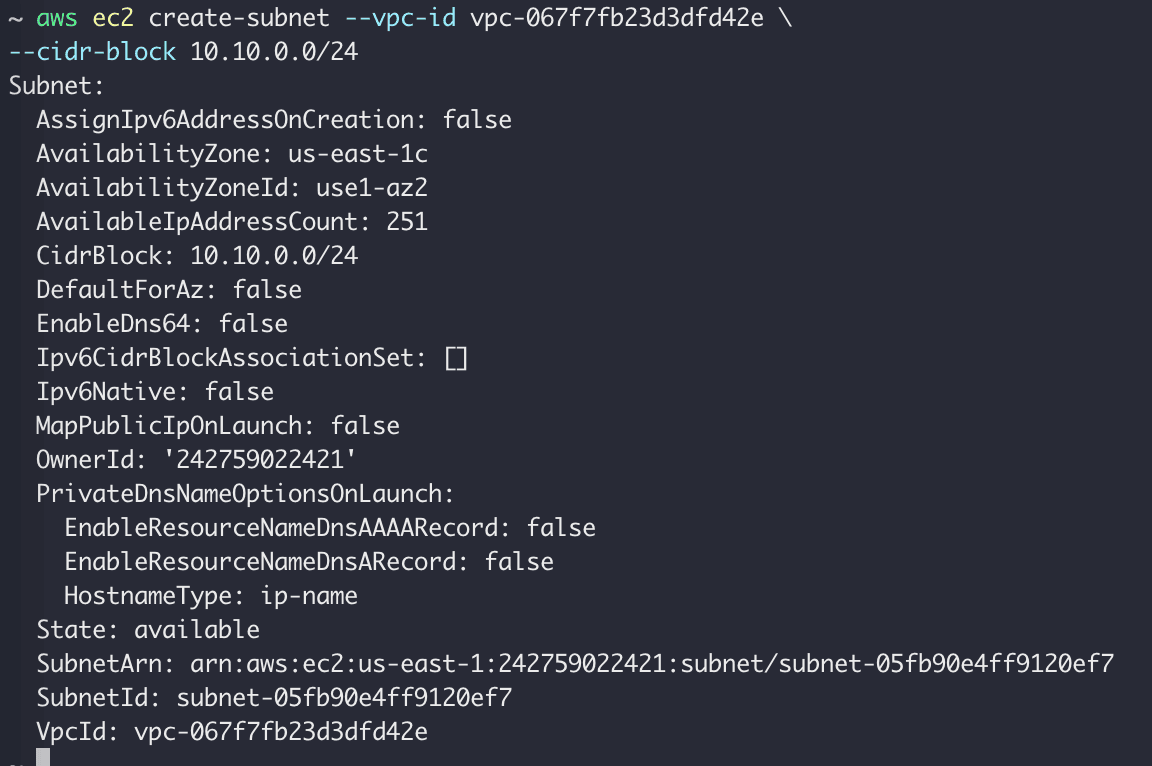
When you create a subnet, the subnet information is returned as shown above.
Create IGW
aws ec2 create-internet-gateway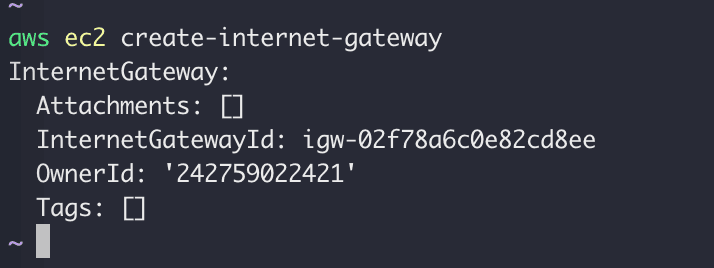
Create an internet gateway and note the returned ID.
aws ec2 attach-internet-gateway --internet-gateway-id \
--vpc-id *Select the blue text to edit it before copying.
Now attach the internet gateway to the VPC.
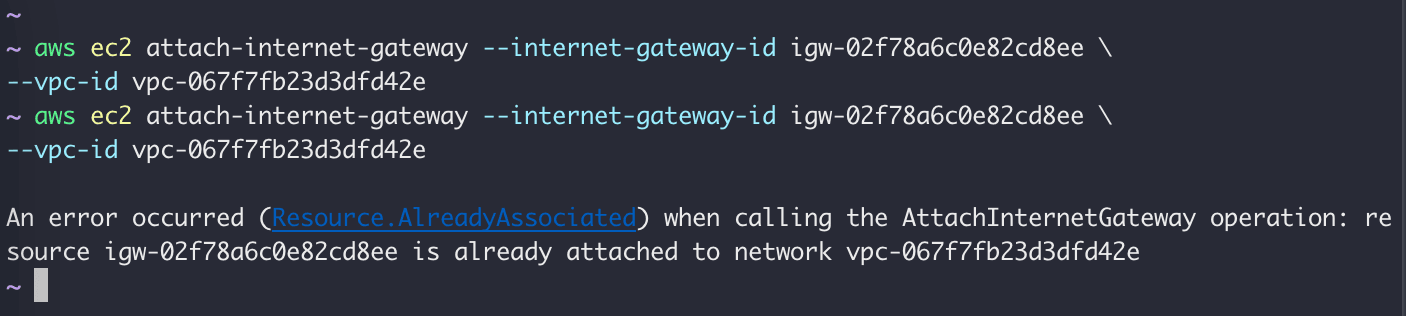
If you run it twice and get the message already attached to network, it's successful.
Create Route Table
aws ec2 create-route-table --vpc-id *Select the blue text to edit it before copying.
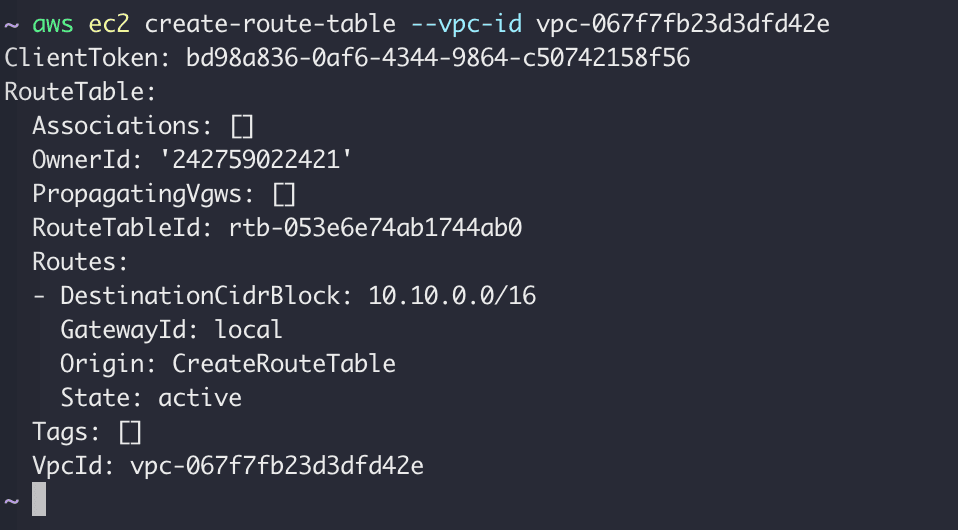
Create a Route table with the following command.
aws ec2 create-route --route-table-id \
--destination-cidr-block \
--gateway-id *Select the blue text to edit it before copying.

The result value True is returned.
Now let's associate the subnet with the Route table.
aws ec2 describe-subnets --filters "Name=vpc-id,Values=" \
--query "Subnets[*].{ID:SubnetId,CIDR:CidrBlock}"*Select the blue text to edit it before copying.

You can check the subnet ID with the following command.
aws ec2 associate-route-table --subnet-id \
--route-table-id *Select the blue text to edit it before copying.

Associate the subnet with the Route table.
aws ec2 modify-subnet-attribute --subnet-id \
--map-public-ip-on-launch*Select the blue text to edit it before copying.
Use the following command to enable automatic public IP address assignment. Since EC2 instance IP addresses change upon restart, this must be configured. Otherwise, you need to associate an Elastic IP address with the instance.
Create SG
aws ec2 create-security-group --group-name \
--description \
--vpc-id *Select the blue text to edit it before copying.

Create a security group with the following command.
aws ec2 authorize-security-group-ingress --group-id \
--protocol \
--port \
--cidr *Select the blue text to edit it before copying.
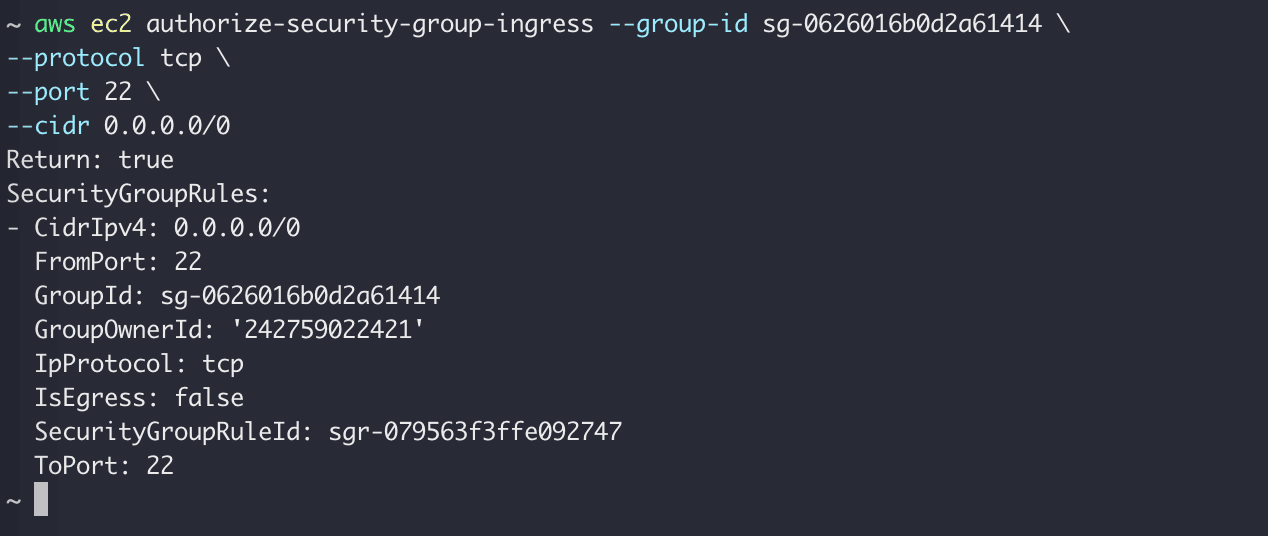
Then open port 22 (ssh) in the security group to allow access from anywhere with 0.0.0.0/0.
Create Key Pair
aws ec2 create-key-pair --key-name \
--query 'KeyMaterial' --output text > .pem
chmod 400 .pem*Select the blue text to edit it before copying.
Create a key pair and set permissions.
Create EC2
aws ec2 describe-images --owners self amazon | lessYou can find AMIs with the following command. Select an appropriate AMI.
aws ec2 run-instances --image-id \
--count 1 \
--instance-type t2.micro \
--key-name \
--security-group-ids \
--subnet-id *Select the blue text to edit it before copying.
Create an EC2 instance with the following command.
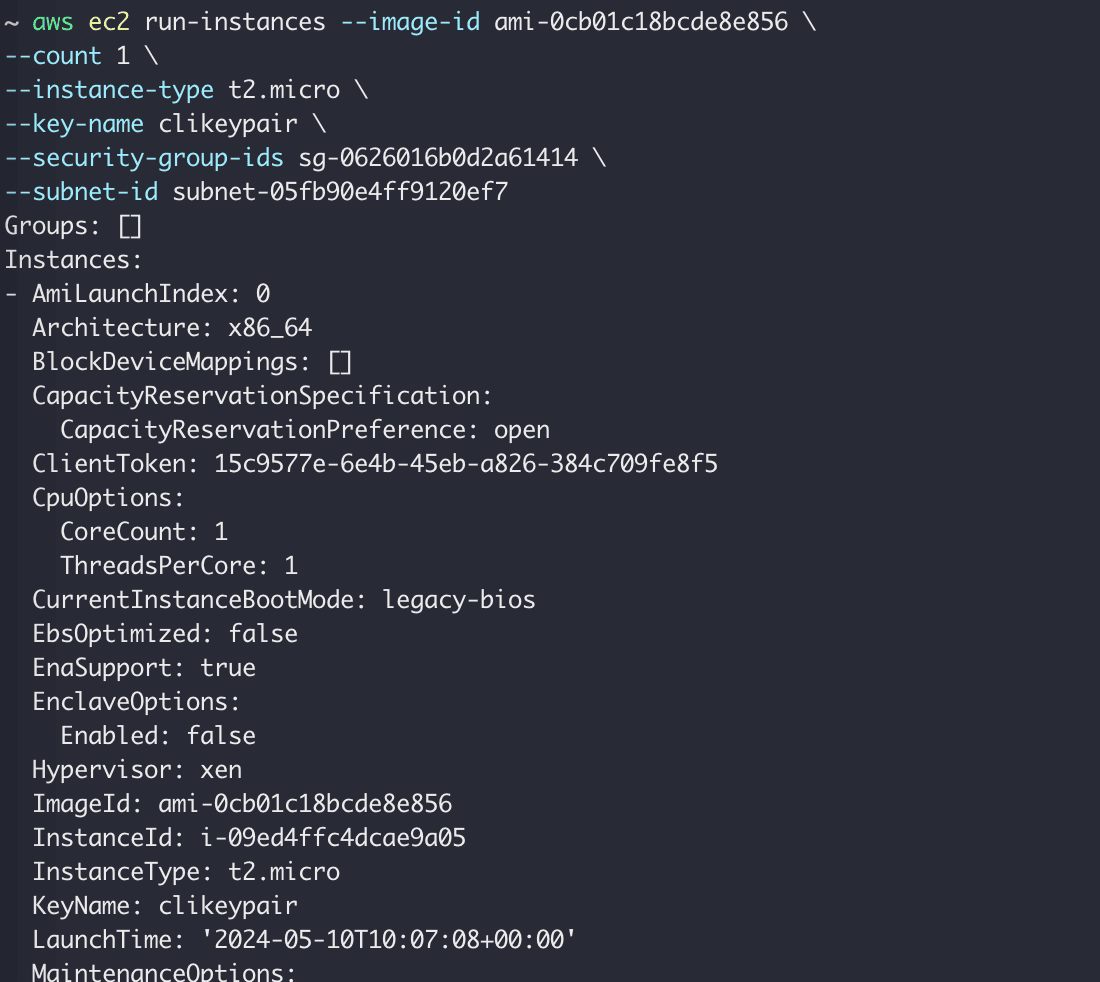
Note the instance ID output when creating the instance.
aws ec2 describe-instances --instance-id *Select the blue text to edit it before copying.
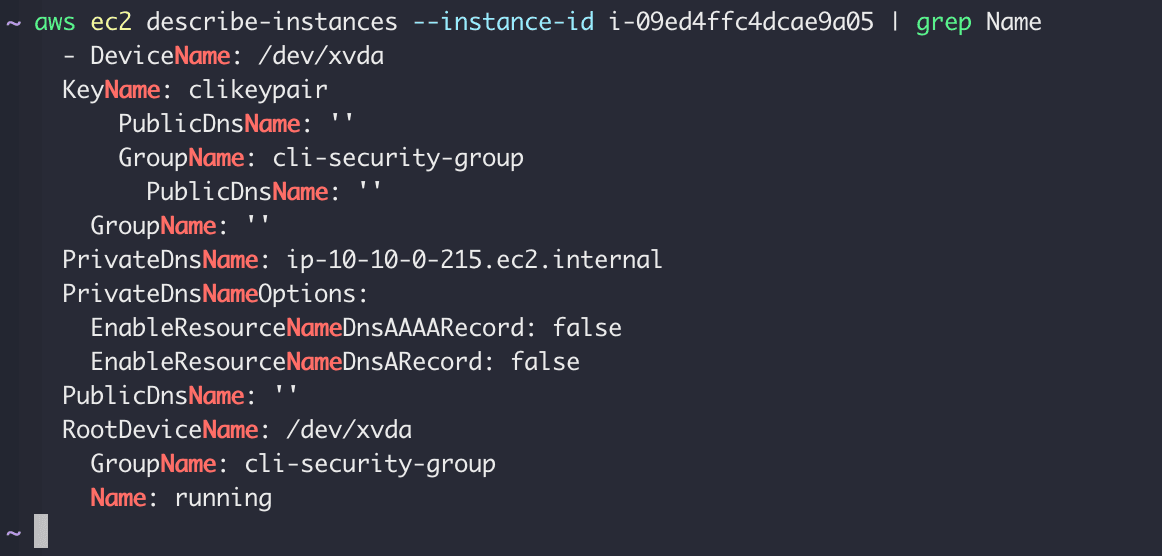
Wait until the instance state becomes running with the command above.
aws ec2 describe-instances --instance-id \
--query 'Reservations[*].Instances[*].PublicIpAddress' \
--output text*Select the blue text to edit it before copying.

Check the EC2 instance's public IP with the command above.
ssh -i .pem ec2-user@*Select the blue text to edit it before copying.
Try SSH connection using the key you just created and the EC2 IP.
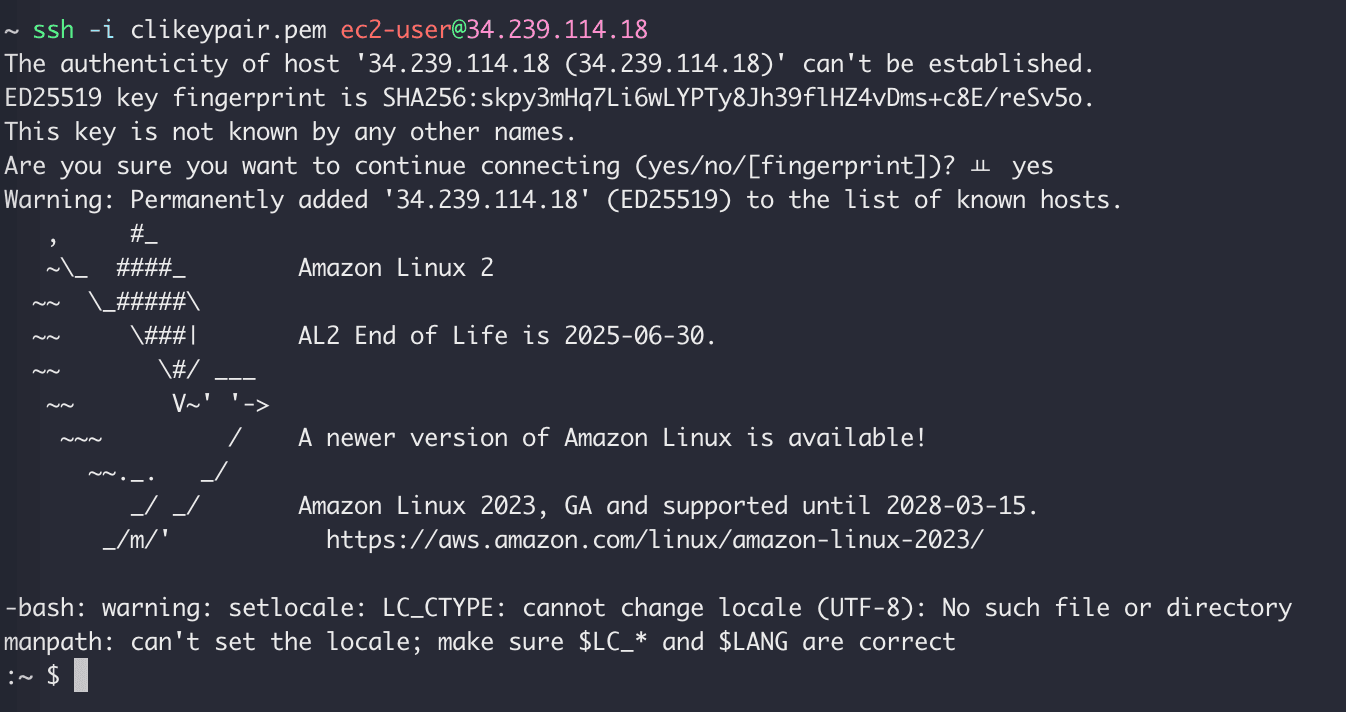
You can see that you have successfully connected to the EC2 instance from the CLI.
aws ec2 terminate-instances --instance-ids
aws ec2 delete-subnet --subnet-id
aws ec2 delete-route-table --route-table-id
aws ec2 detach-internet-gateway --internet-gateway-id --vpc-id
aws ec2 delete-internet-gateway --internet-gateway-id
aws ec2 delete-security-group --group-id
aws ec2 delete-vpc --vpc-id *Select the blue text to edit it before copying.
You can delete EC2 instances and security groups in the following order. Enter them one at a time as they may not be deleted if entered all at once.
- Delete EC2 instance
- Delete subnet
- Delete Route table
- Detach internet gateway from VPC
- Delete internet gateway
- Delete security group
- Delete VPC
A better method is to use nuke to delete everything.
ref: https://dev.classmethod.jp/articles/build-ec2-with-aws-cli/
Published:
Modified: